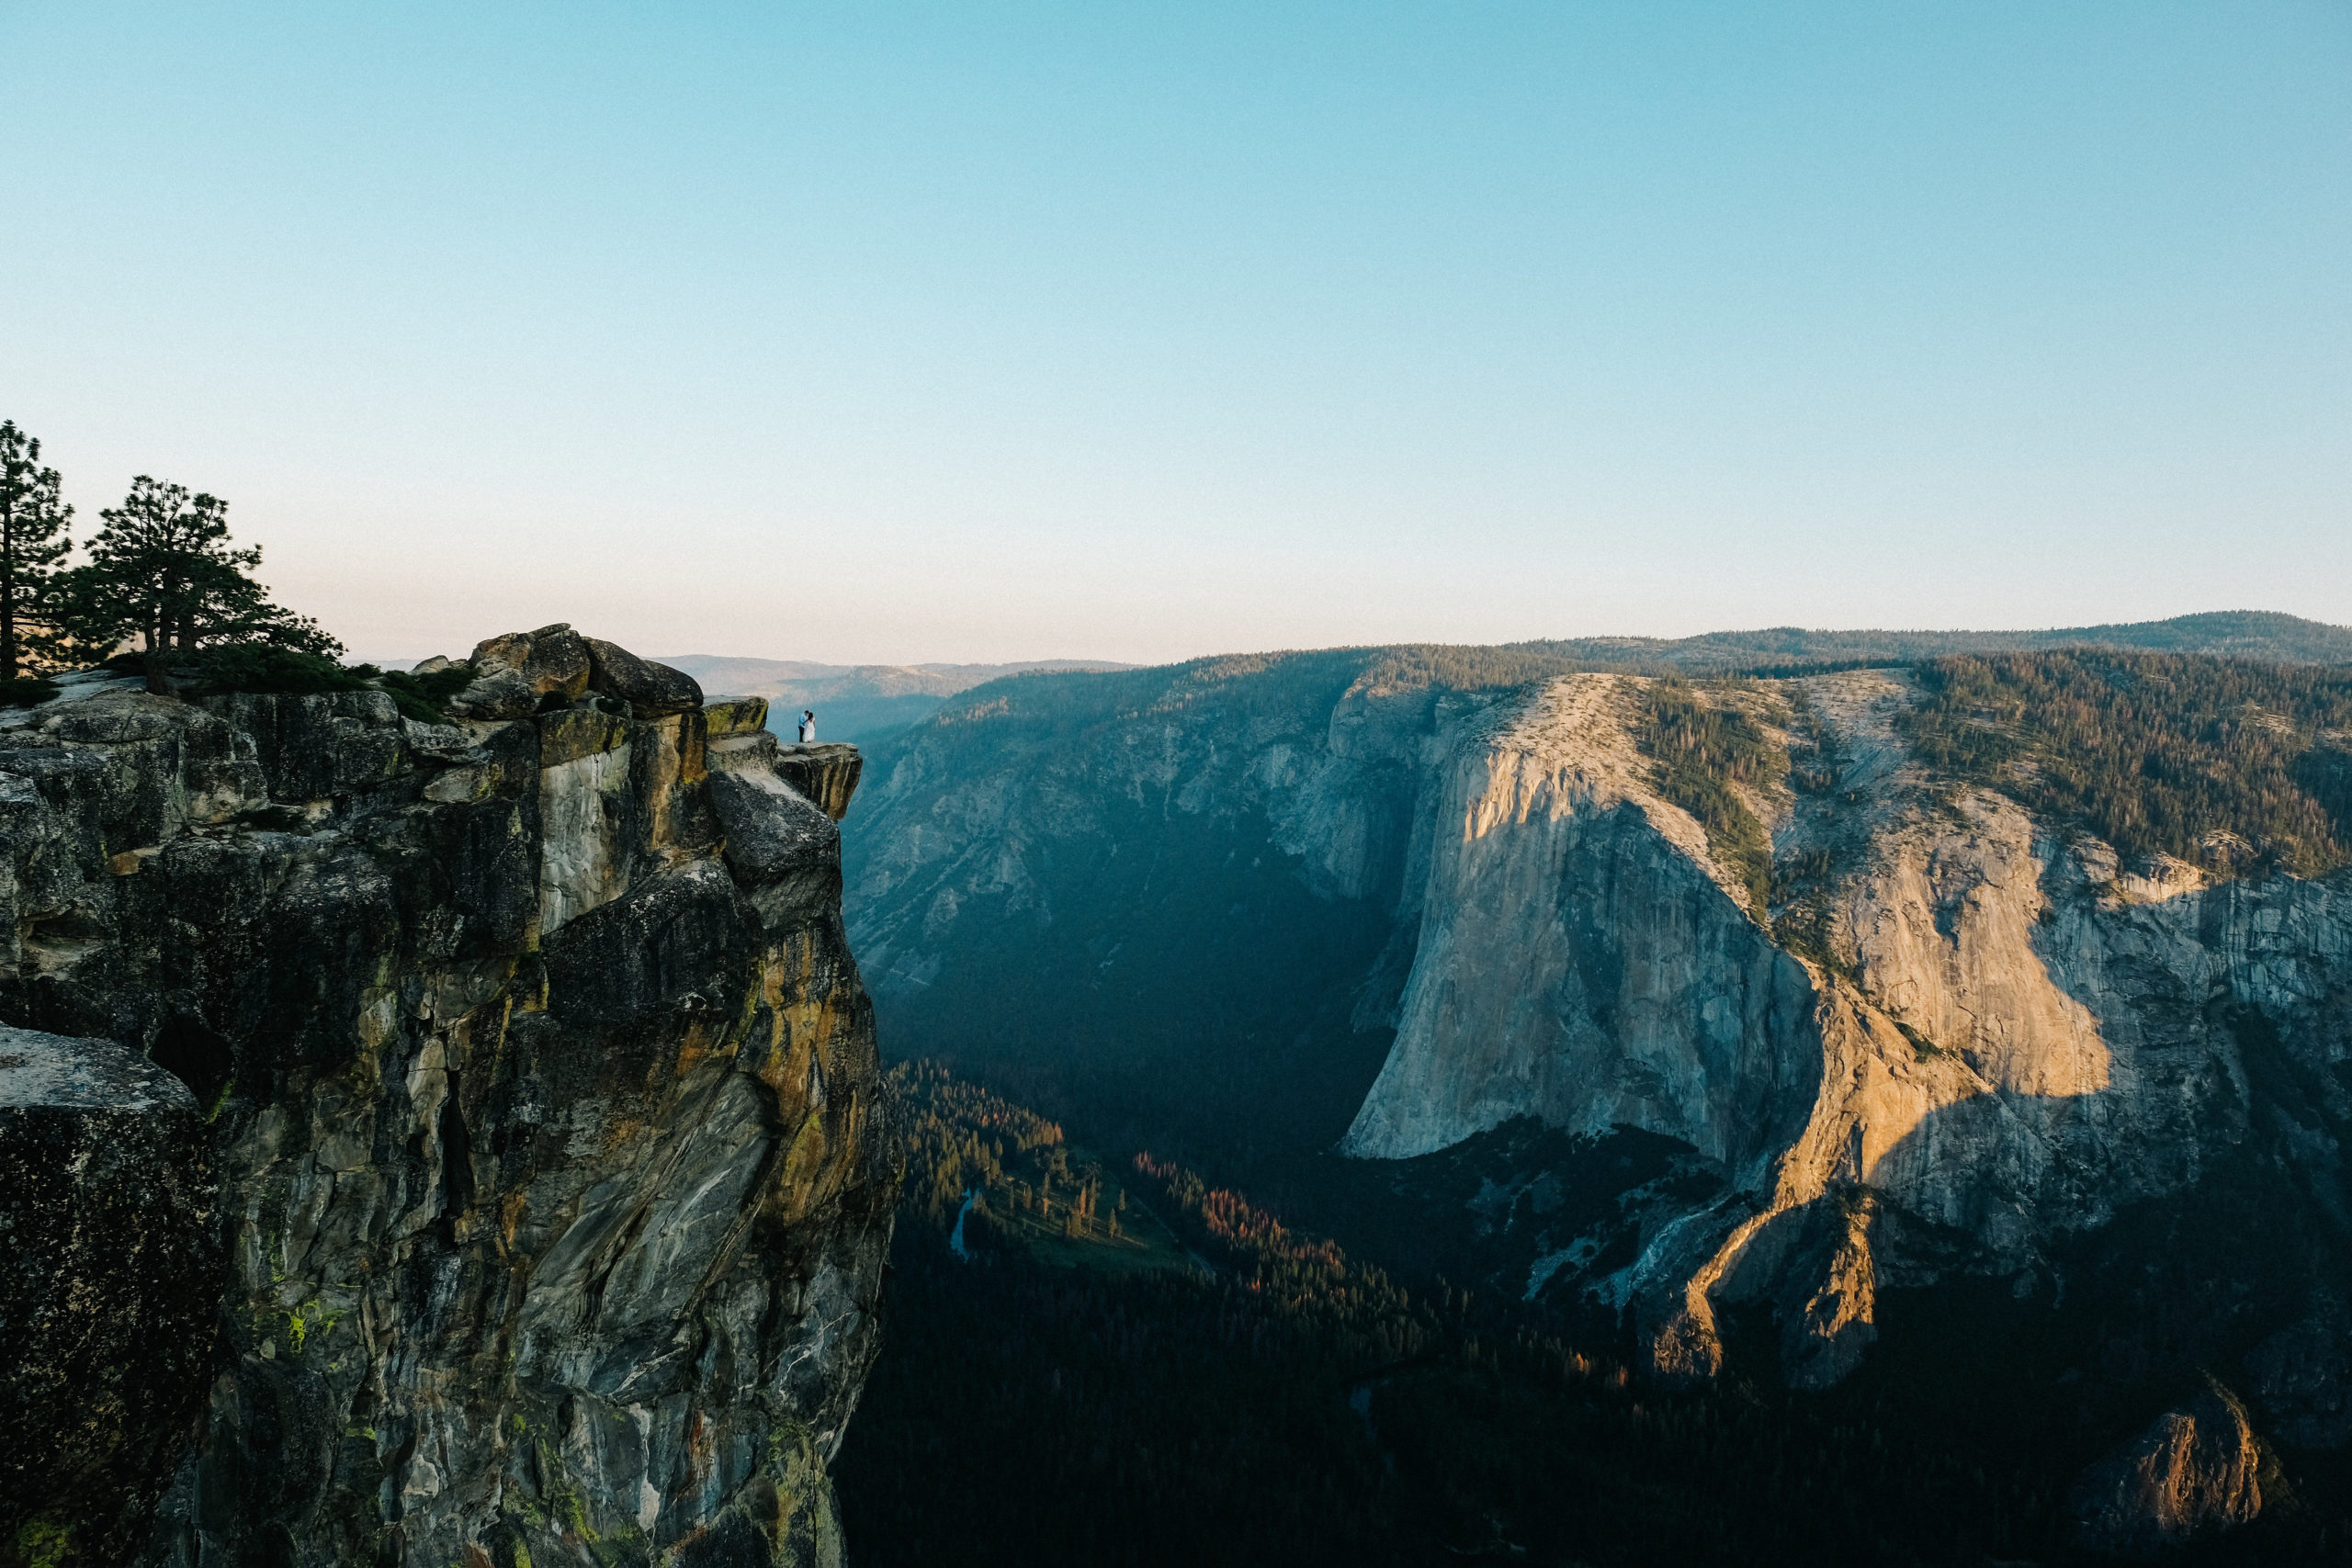
A Photographer’s Guide to Yosemite National Park
Filed in:
Date:
Author:
Isabell De La Cruz
July 22, 2018
Yosemite holds a very special place in our hearts. There is just something so majestic and breathtaking about standing in Yosemite – surrounded by all the grandeur of nature — it seems that there are just endless locations to explore!! We get questions about visiting Yosemite multiple times a week so we thought we’d sit down and create a resource so everything is in one place!
Yosemite is WONDERFUL, and there are endless things to do and explore in Yosemite, and we could probably spend years talking about it from all different angles… so just to keep things simple, we’ll just focus on Yosemite from a photographer’s point of view. We’ve compiled a couple of our best tips and tricks for planning a trip to Yosemite and will be sharing a couple of secrets of the way we plan for having a successful photoshoot there!
***Before we get into the guide, I think it’s really important to mention that Yosemite (and all of the locations that we share) are precious natural spaces and it is our responsibility to protect, preserve, and take care of it. Tourists and photographers kind of have a horrible reputation for being disrespectful and destructive of sites… regardless off whether or not it was their intention. Please be respectful and don’t be disruptive to the nature or fellow visitors around you, especially for the sake of “taking a photo.” We visit these places because they are stunning and inspiring and we want to make sure that the magic will still be there for generations to come :] Make sure to study up on how you guys can practice sustainable travel habits that you can apply anywhere you go by familiarizing yourself with Leave No Trace!
5 Quick Tips for Traveling in Yosemite
- Buy the National Parks Pass!
For $80 a year you can gain entry to all of the National Parks for whole the year! There tends to be a huge line entering the park, so help yourself out by pre-purchasing the Annual Pass. You’ll also be able to skip entrance fees at all of the other National Parks for the whole entire year! Anthony and I visit many National Parks each year and the pass easily pays for itself after just a couple of visits :] You can also buy them at the door if you forget to buy in advance, but you’ll likely need to wait in line.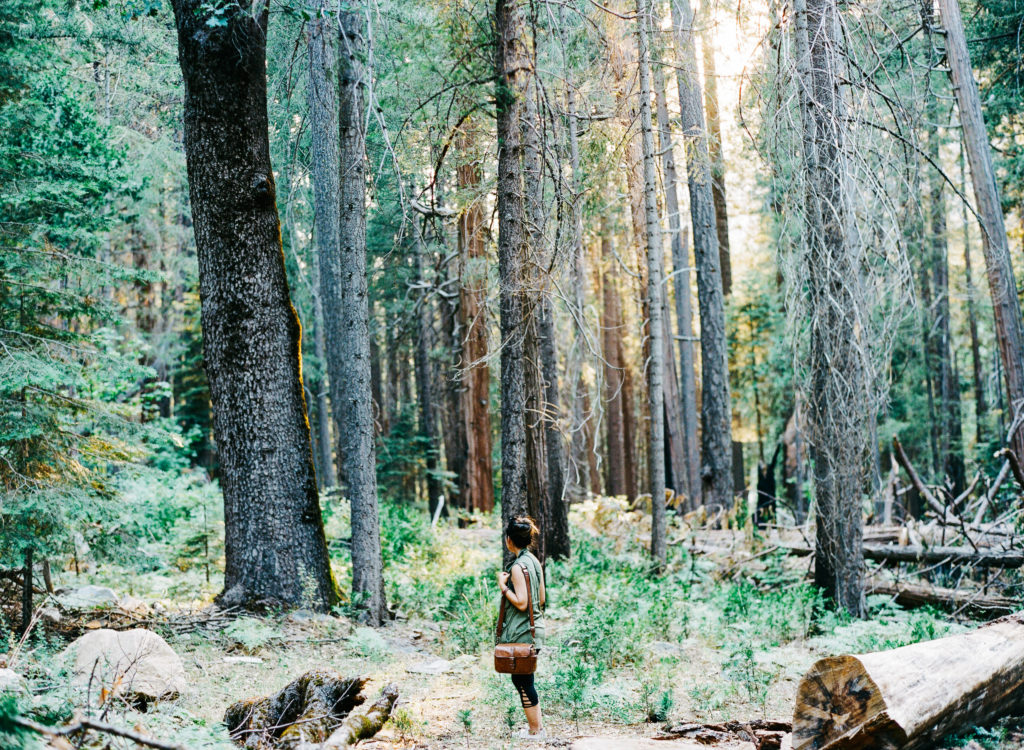
- Connectivity + Power
Download an offline version of Google Maps onto your phone. There’s very limited reception in Yosemite and you’ll be stranded if you’re relying on your phone’s GPS to navigate around. I hear Verizon gets a little bit of reception at the peaks, but for the most part, there was zero reception. Make sure to bring a power bank if you rely on your phone to take photos or use it for GPS. We keep this power bank in our cars, and mini power banks in our backpacks. We usually take the opportunity of no reception to unplug from the digital world, though there have been many times the power bank has come in very handy. The power bank has regular outlet plugs so we can change our camera batteries as well, and can give our phones a couple of full charges! For longer trips, we also use this solar panel charger.
- Pack your own food!
There are a number of restaurants in Yosemite Valley and visitors centers, but they are pretty out of the way and can get really crowded. Our suggestion is to come ready with your own meals and plenty of hydration! I (Isabell) loves packing Backpacker’s Pantry foods – they’re gluten-free and super easy to make with some boiled water. My favorites meals are Chicken Fajitas and Chicken Risotto. No joke, you can even have Beef Pho on the go too! Can you believe you can even have Crème Brulee?! Anthony likes bringing canned foods. Of course, you can also cook your own food at a campfire, or a small gas stove at approved campsites. Just make sure your food is well stored if you’re leaving it behind for a couple of hours. The critters can smell it! There are bear lockers you can use at campsites!
- Plan Ahead for Lodging
There are a number of different lodging options in Yosemite from fancier hotels within Yosemite Valley, rentable cabins, or campground/campsites that you can reserve. (There are special restrictions for RVs + campers – some campsites allow them, some do not, so check ahead.) These usually get booked out within minutes of release so make sure to have that squared away if you’re planning to stay within the park. If you’re going in during Winter or Spring, you’ll have an easier time finding a place to stay within the park.- There are a super limited amount of “First Come, First Serve” campsites that can be claimed without a reservation. The list is here. If you can make it into the park before 8am, you might have a chance of snagging one of these coveted spots!- You can also find an Airbnb or motel outside of the park as well. (We’ve found great airbnbs in Mariposa.) You’ll spend some more time driving in and out of the park, but it’s a good alternative if you’re planning a trip to Yosemite on a shorter notice.* We like Brideveil Creek Campground because of it’s proximity to our favorite Yosemite spots!* For last minute planners, check out the app Hotel Tonight for last minute booking cancelations to see if you can score room that is open. It’s a gamble, and I haven’t tried it for a trip to Yosemite yet, but it’s worth a shot if you don’t have any other options!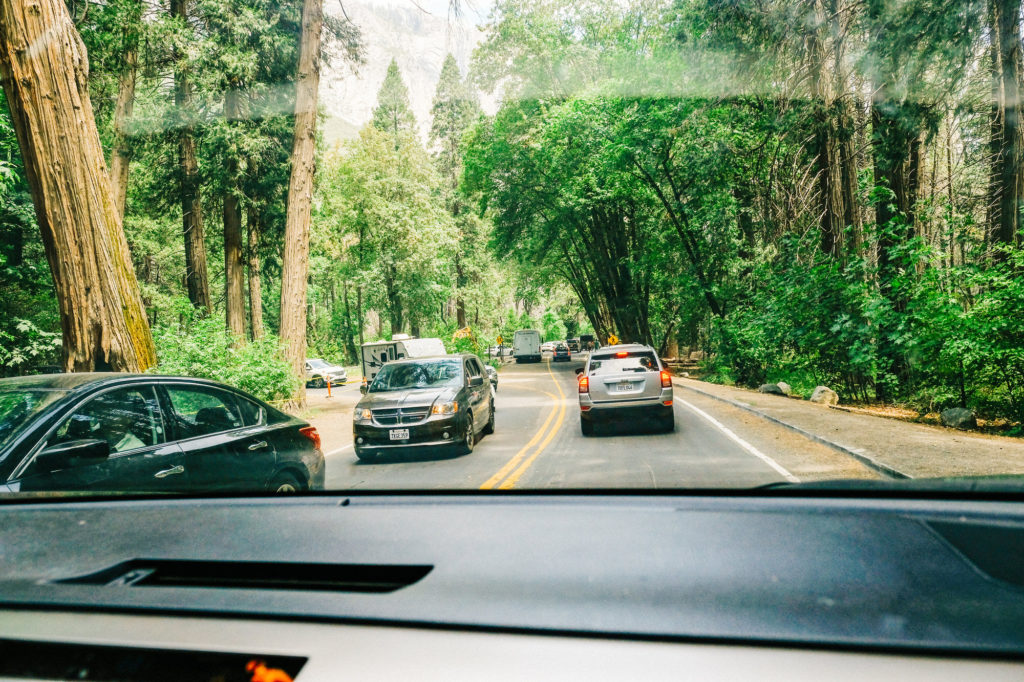 Be ready to hang out in the traffic!
 - Be aware of peak times… and road closures.Yosemite National Park is a super popular destination, so you’ll likely be spending hours in traffic if you’re visiting during their peak season – May through September. Weekdays are best if you want to avoid crowds… but if weekends are the the only times you can visit, you’ll want to budget at least an hour to get from location to location as well as get there early enough for parking. There is also a shuttle service and a bus tour that can help you avoid the parking problem.When the weather gets colder, Tioga Road closes from the snow so there is no access to Glacier Point and Taft Point. Check this link for the current status of Tioga Road.
*Our hint? If you can help it, go earlier during spring, right after Tioga Road opens… just not during spring break when you’ll be running into a bunch of visitors.
Our top 5 favorite Yosemite Photo Locations
TUNNEL VIEW
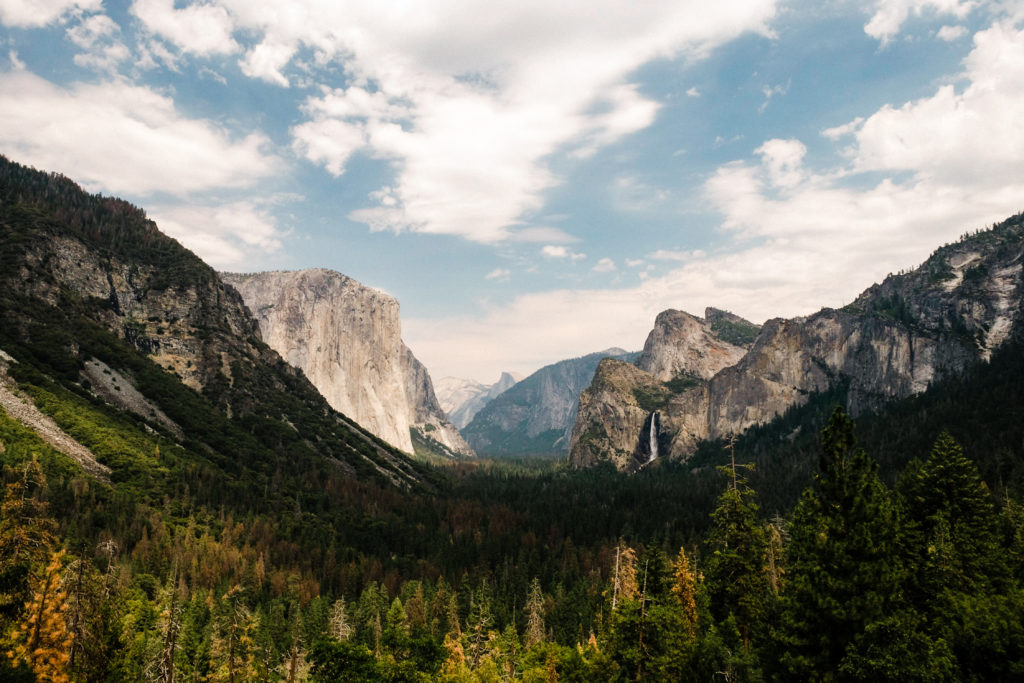
- One of the most iconic views of Yosemite Valley. It’s near the entrance coming in from the Mariposa side, and is a quick stop that you can drive up to. It’s a popular stop for tour buses and gets super congested because of the view, but it is absolutely stunning. It’s super lovely at Sunset, and also looks gorgeous in the morning when there is a heavy layer of fog hanging over they valley. It looks gorgeous in every season.
GLACIER POINT
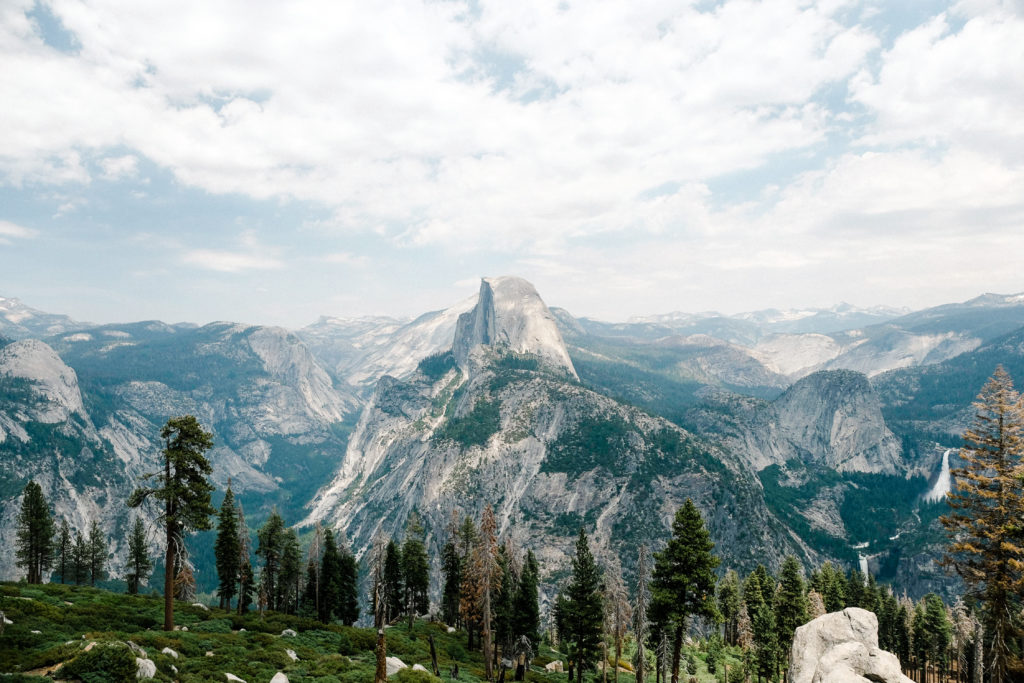
- Glacier Point rocks iconic views of Half Dome, cliffs all around. There are a couple lookout points that you can easily walk up to. Really great for an elopement/wedding ceremony. It gets extra points because it’s very accessible and has a parking lot nearby. There are lookout points and guard rails built in at Glacier Point as well. We don’t recommend hopping over the guard rails.
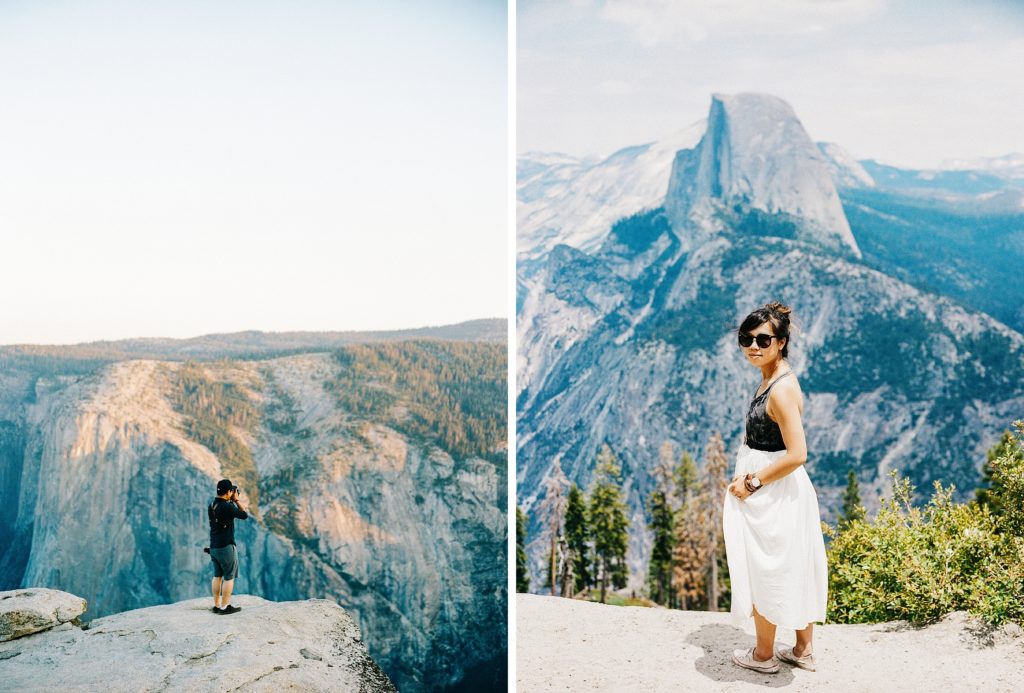
- Glacier Point is a great spot if you’re not especially into hiking, but love a good view. It’s also super accessible and has a large visitors center/gift shop. Most of it is wheelchair and stroller accessible as well. Needless to say, it stays pretty busy year round because of all of these reasons, but there are pros and cons to every situation, right?
- Both sunset and sunrise look great for this location. If you’re cool with sharing the view with tourists. It’s also a stunning spot for stargazing as well. Bring a blanket 😀
- There’s also stunning vista on the way to the parking lot of Glacier Point where there road bends and you can see Half Dome in the horizon.
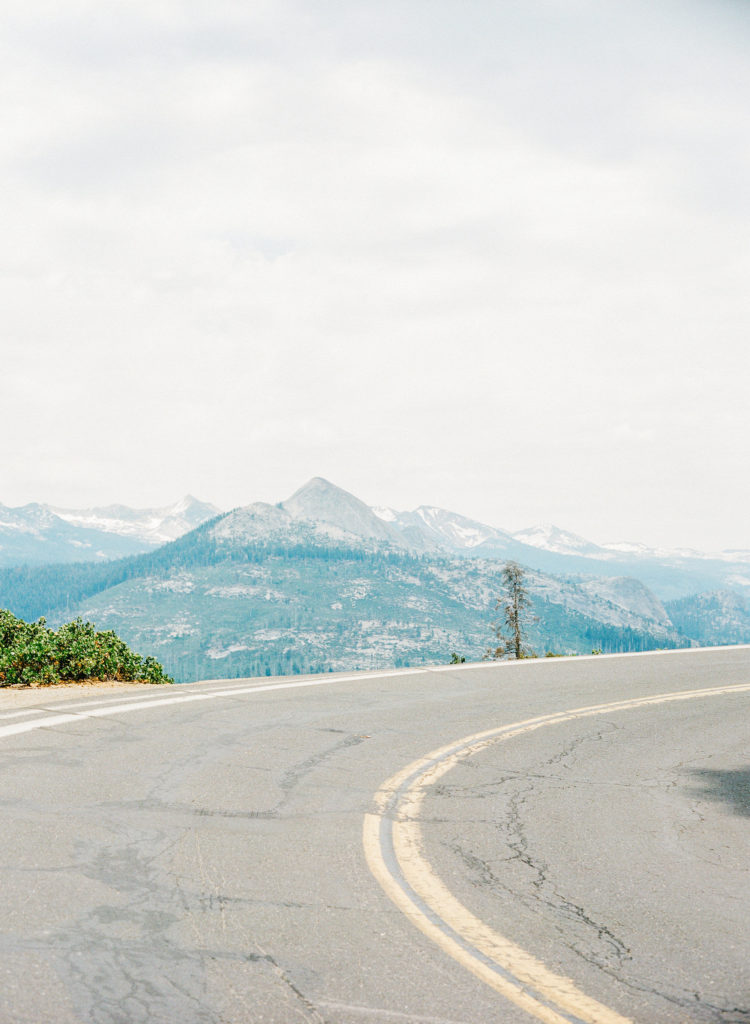
- Glacier Point is not accessible in the colder months, so plan ahead :]
- Fun Fact: did you know that Anthony’s band “Glacier Point Band” is named after this location?
TAFT POINT
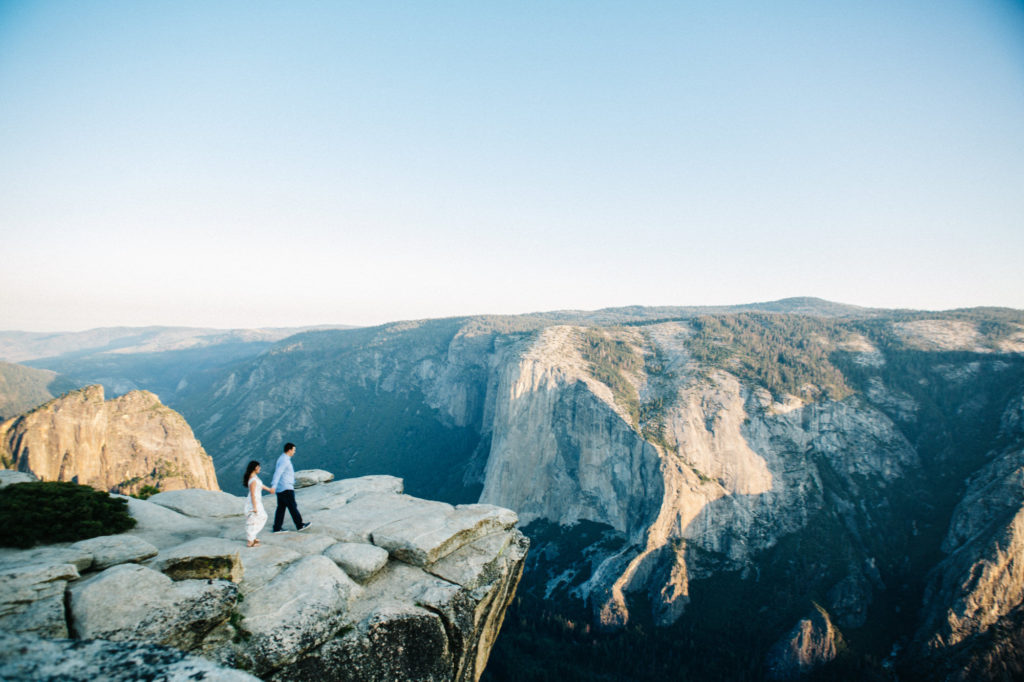
- Taft Point is probably my personal favorite location in Yosemite. We’ve shot both sunrise and sunset sessions there, and the light is just perfect. The views are amazing! There are a number of fissures near Taft Point, and the view of El Capitan from Taft Point is probably one of our favorites!
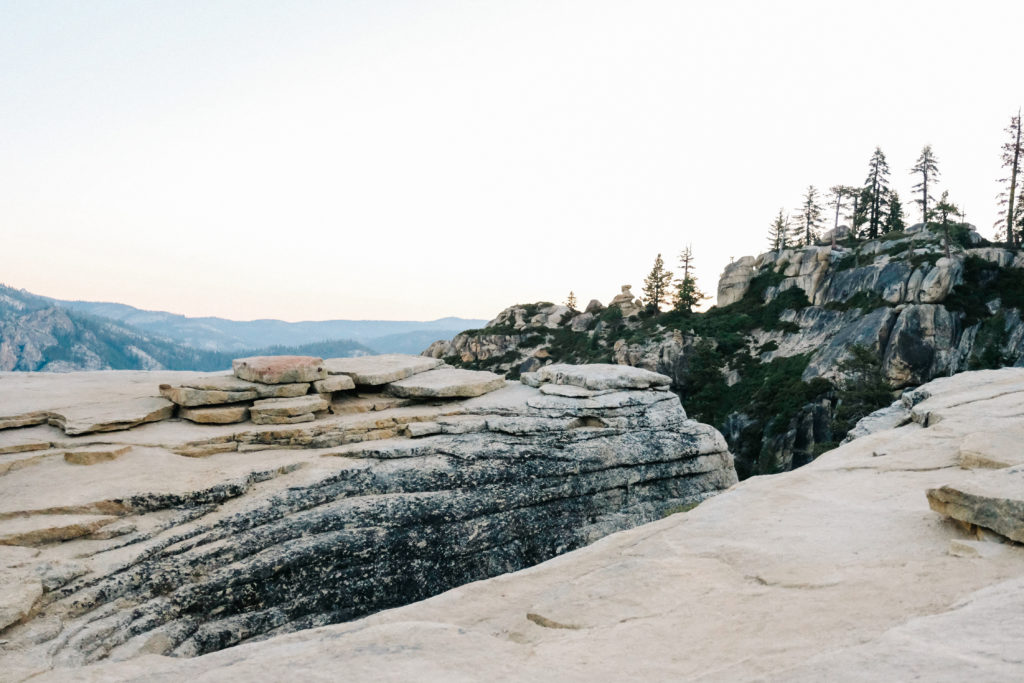
Taft Point fissure with morning light
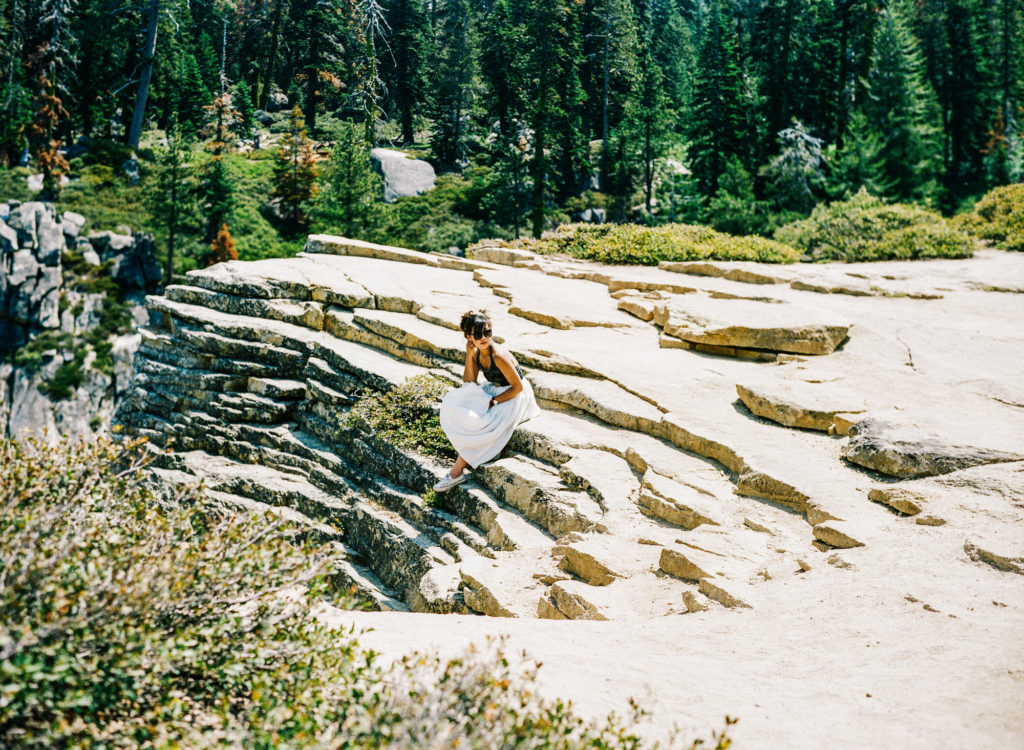
Isabell hanging out on a Taft Point Fissure in early afternoon light
- A lot of visitors post up for sunset out here so sometimes a line will build for the most “Instagram Famous” photo shots, but the other plus is that the area is so vast there is plenty to explore.
- Personal tip – the sunrise at Taft Point is my favorite :]
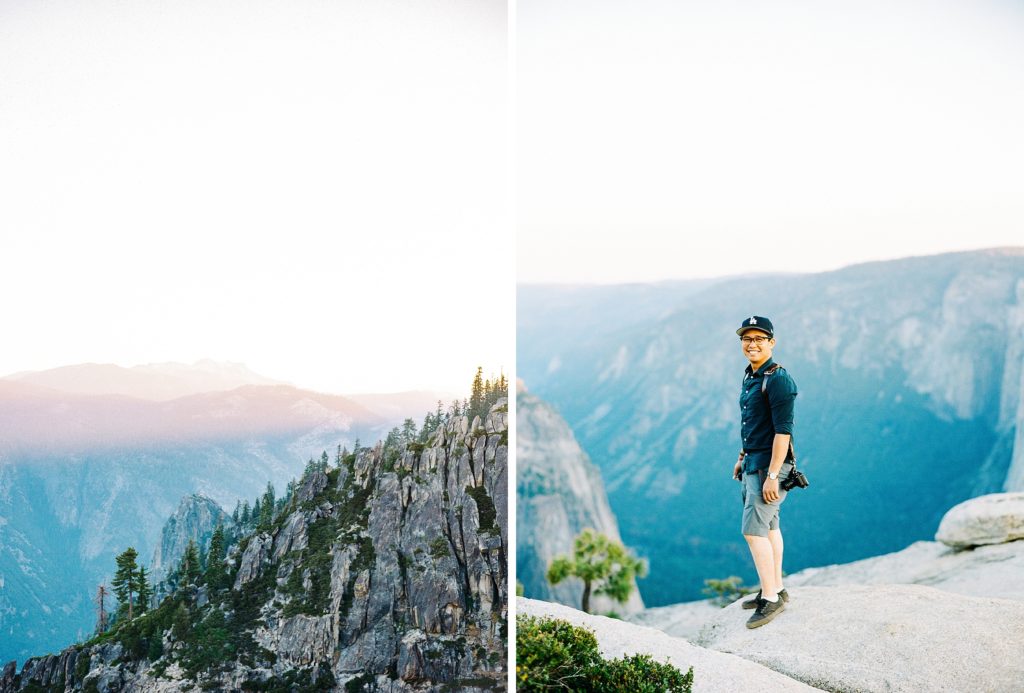
Sunrise Light at Taft Point
- In order to get to Taft Point, you’ll want to park at the Sentinel Dome Parking Lot and hike your way to Taft Point. It’s about a mile and a half and isn’t especially challenging, but it can be a little challenging finding the trail markers if it’s your first time. You’ll cross a little creek and there will be a short climb and an elevation drop – but it’s SO worth it when you make your way to the actual lookout spots! LOTS of mosquitoes when you pass through the forest, so be prepared with DEET.
- If you do end up hiking up here before the sunrise or late after the sun goes down, it can get pretty dark! Come prepared with headlamp because your phone light won’t cut it.
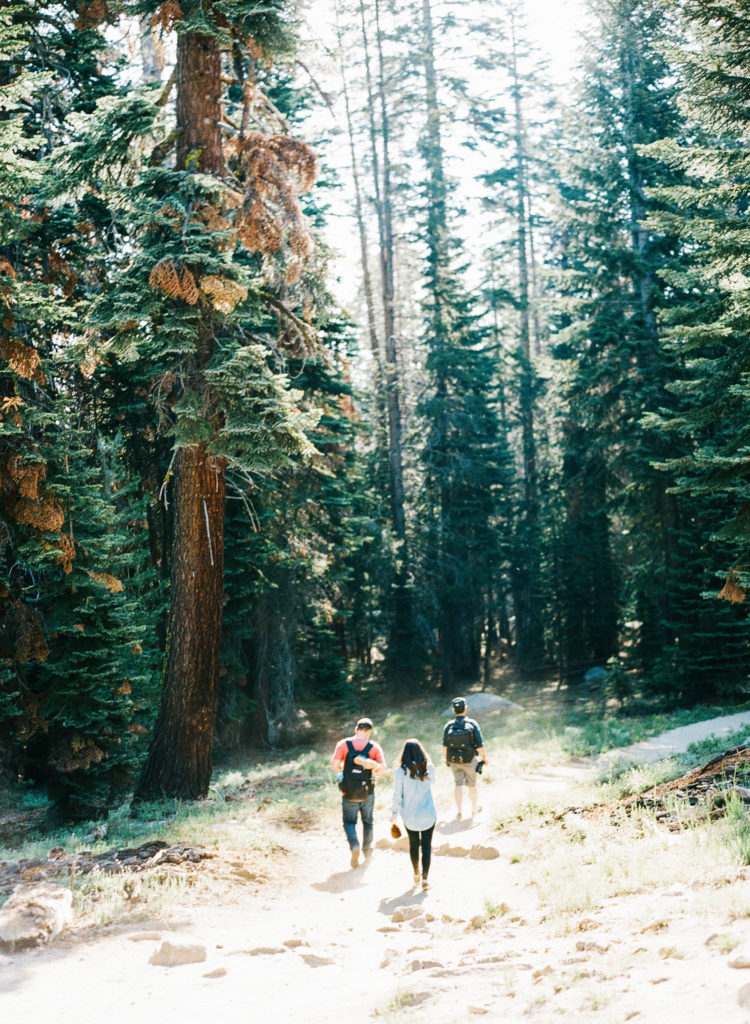
K & K traveled the trail in comfortable clothes, and changed into another outfit out on the vista point.
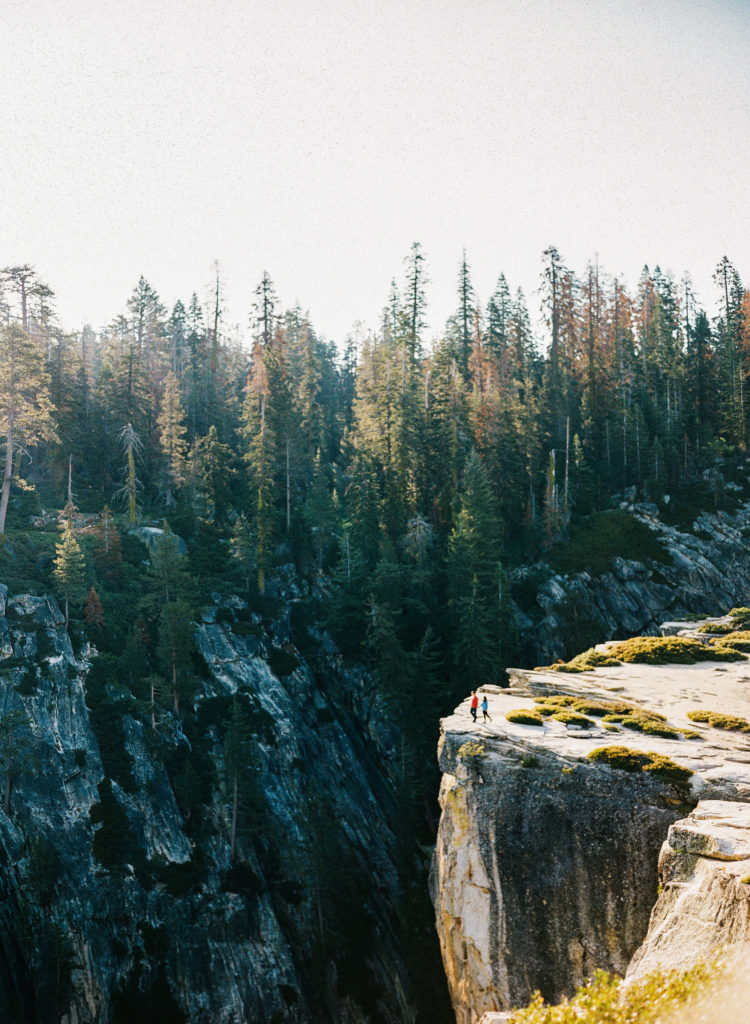
an alternative angle of Taft Point
- It’s a pretty gnarly drop down over the cliff, so be safe!
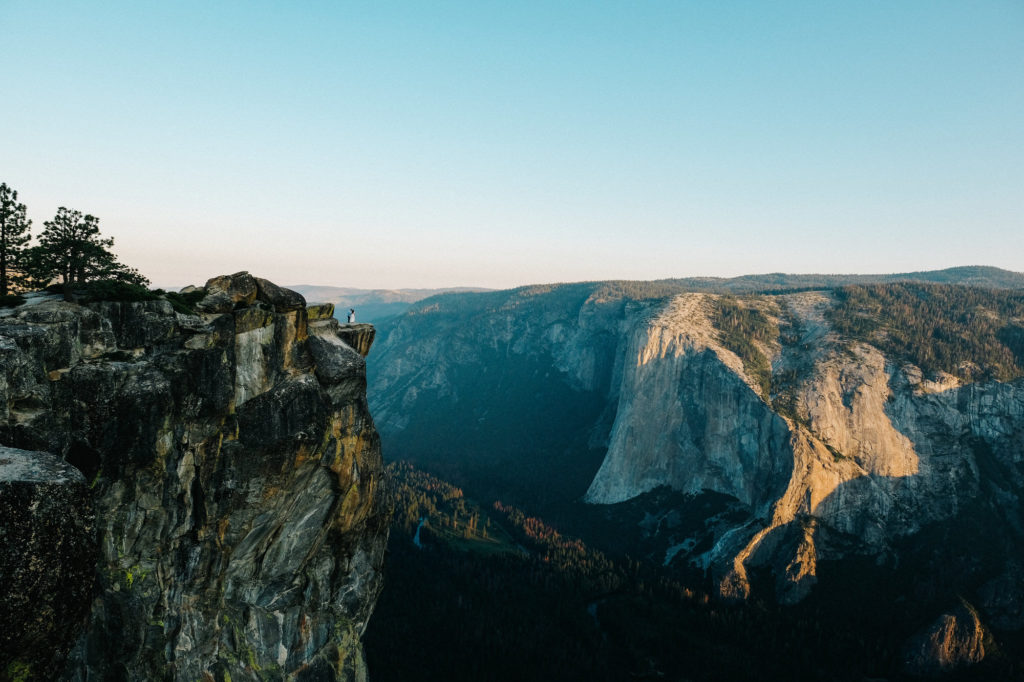
- Taft Point and Glacier Point are fairly close to each other and are accessible through Tioga Road. Remember, when it gets cold, the road closes.
CATHEDRAL BEACH
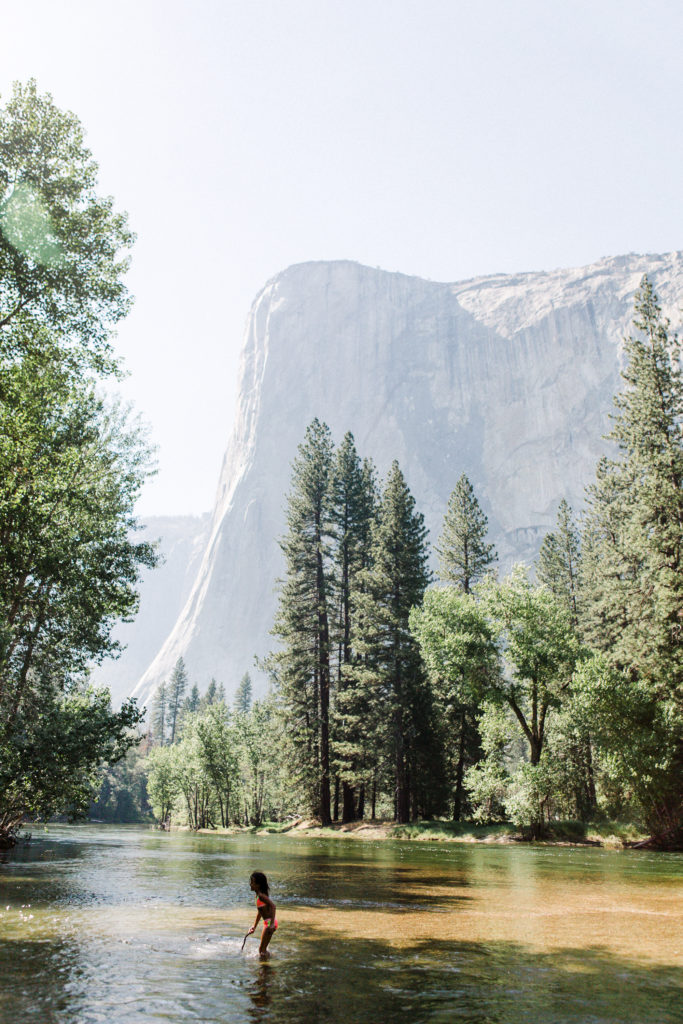
a little girl plays in the water at Cathedral Beach
- Cathedral Beach is one of the most underrated locations in Yosemite. It’s a stunning spot for a picnic. The Merced River runs through Cathedral Beach, and you can take a dip there! The water is pretty chilly even in the summer and is the perfect way to cool down! There are a number of parking spots here, but it does fill up pretty quick, so come early.
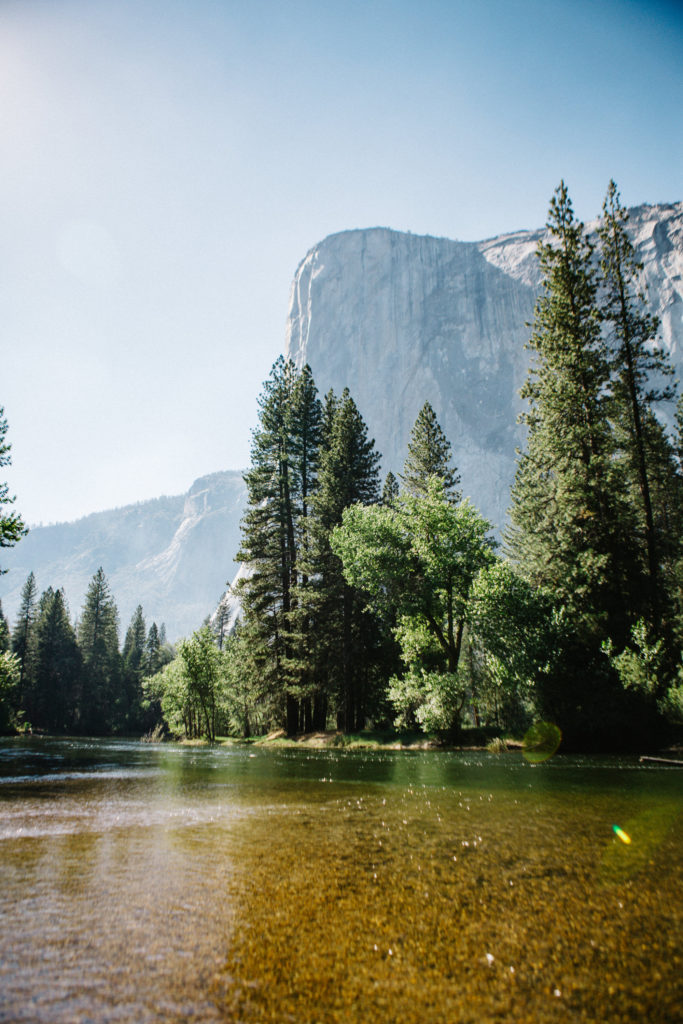
The view from the water at Cathedral Beach
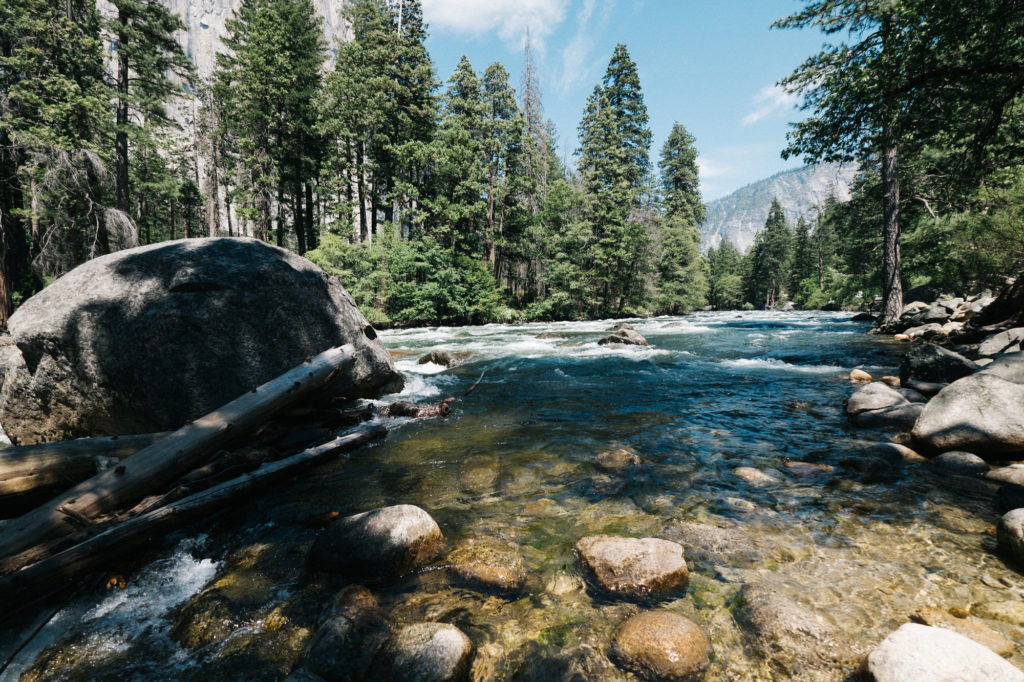
Rocks at Cathedral Beach
- There are a number of picnic tables in the area for an afternoon campfire grill and plenty of trees to hammock up. Definitely a dream location to unwind in the warmer months!
SENTINEL LOOP + COOK’S MEADOW LOOP (YOSEMITE VALLEY)
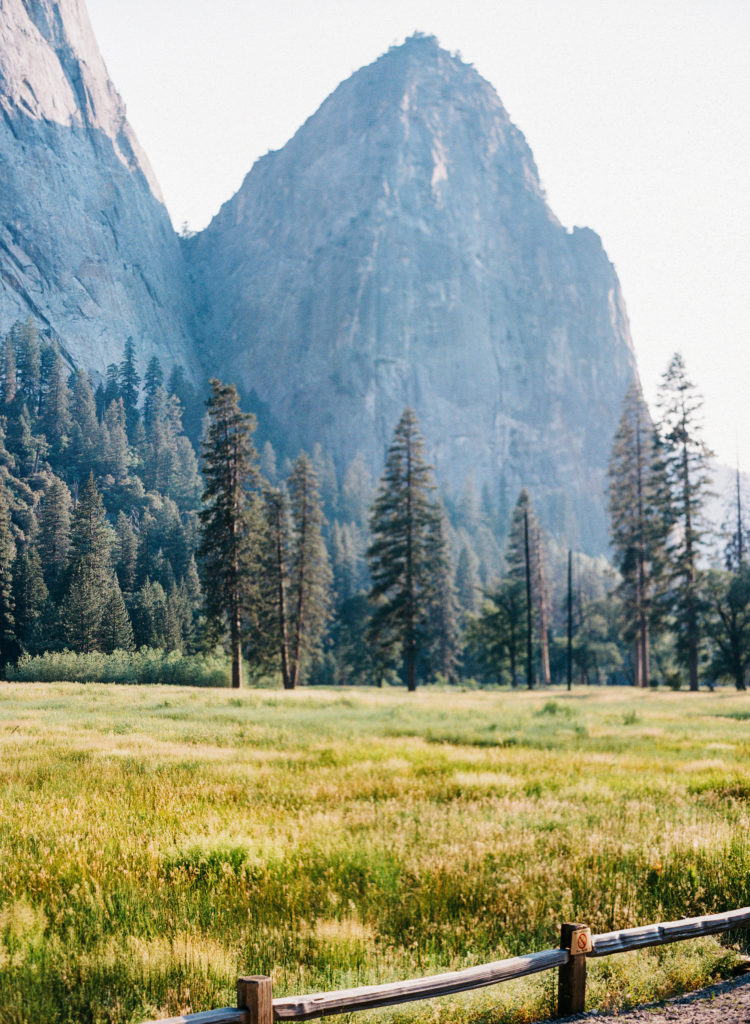
- A classic iconic shot from the Yosemite Valley with gorgeous 360 views all around. You can take your time strolling along the wooden walkways. It’s completely flat and is a very easy walk, but watch out for the bugs! These pathways are pretty close to lodging in Yosemite Valley, so you’ll be able to park nearby with minimal searching. These paths also lead towards Lower Yosemite Falls, which is another easy hike!
- Expect a bit of traffic going in and out of Yosemite Valley because of it’s proximity to lodging.
- The grass is shorter at El Capitan Meadow which is nearby if you want to relax for a picnic!
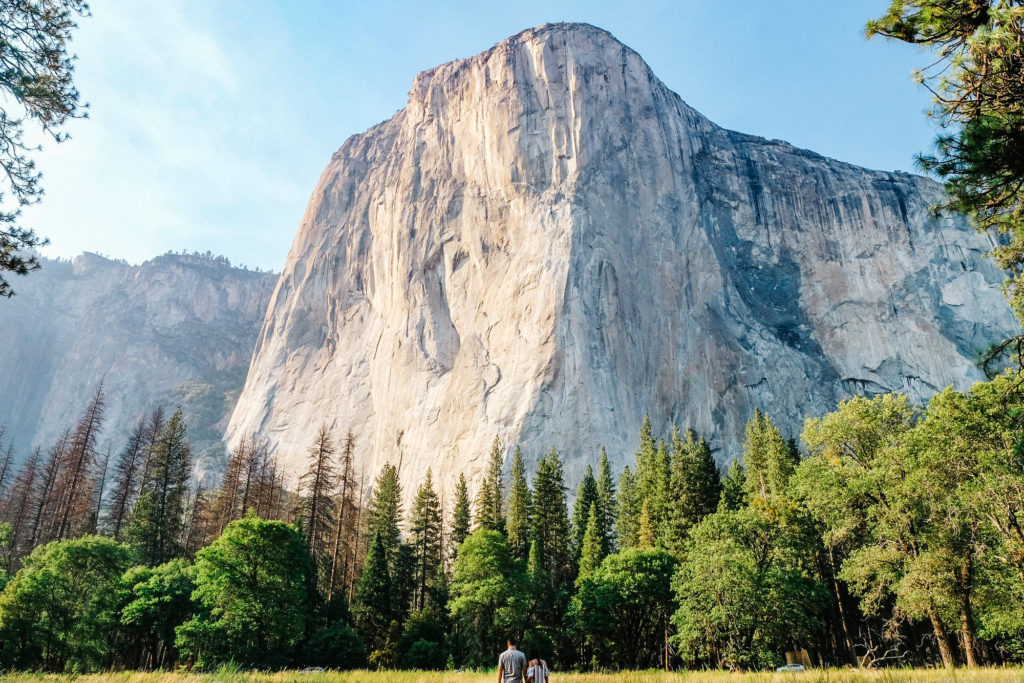
the view from the Valley
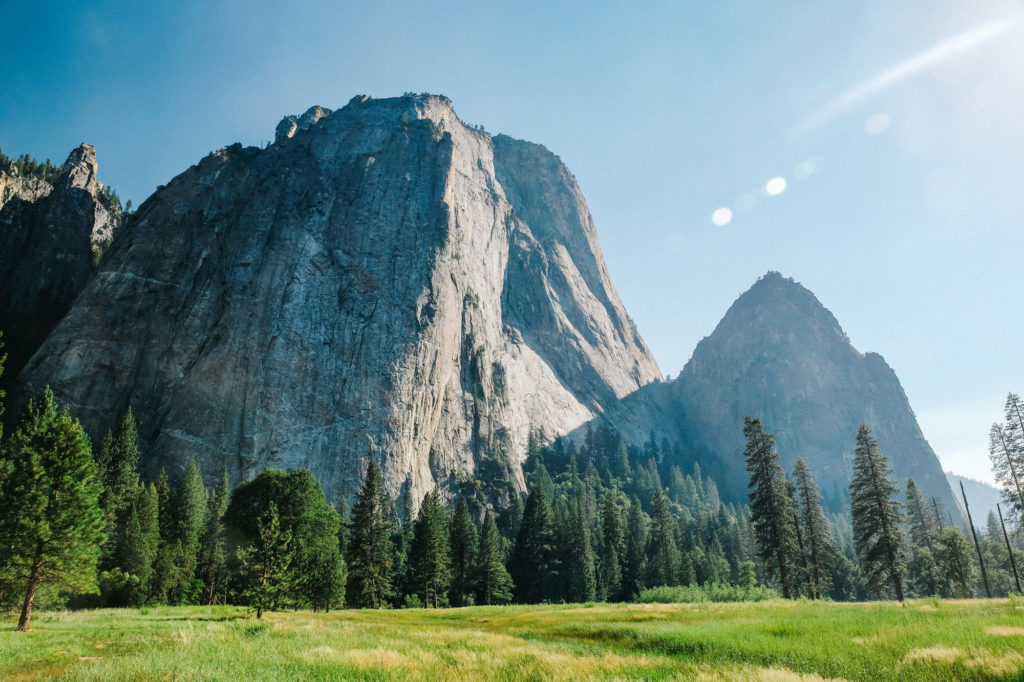
glorious views all around
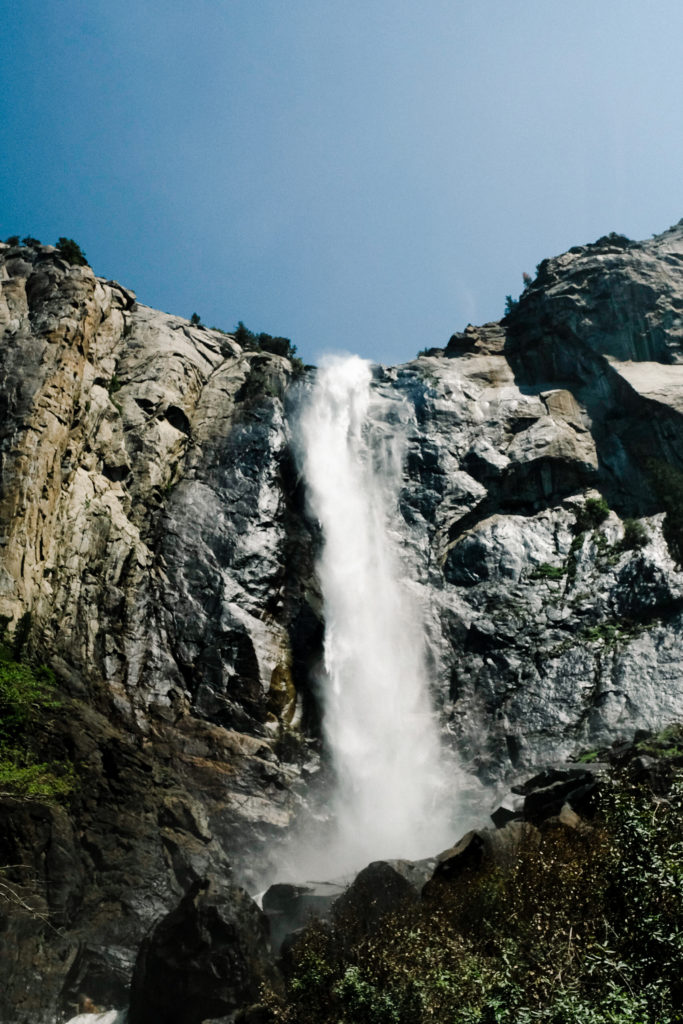
from the base of Brideveil Fall
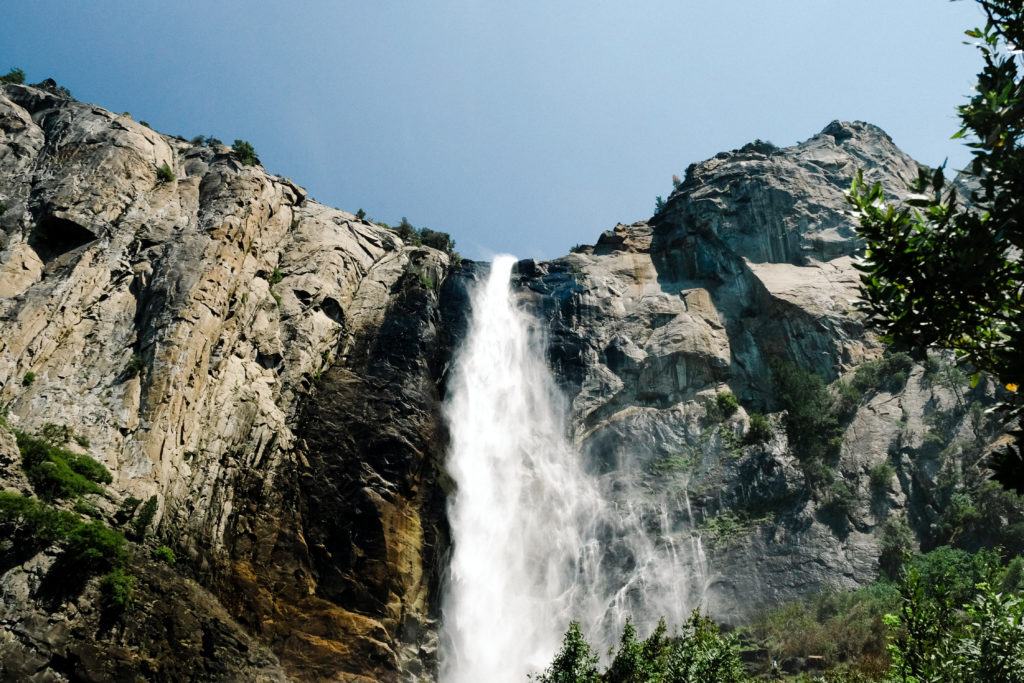
DISCOVER SOME OF YOUR OWN!
- Really guys! We’ve only mentioned just a tiny number of locations we love, and encourage you to go out and search for some of your own! Yosemite is so gorgeous you won’t have any trouble finding some treasures of your own!
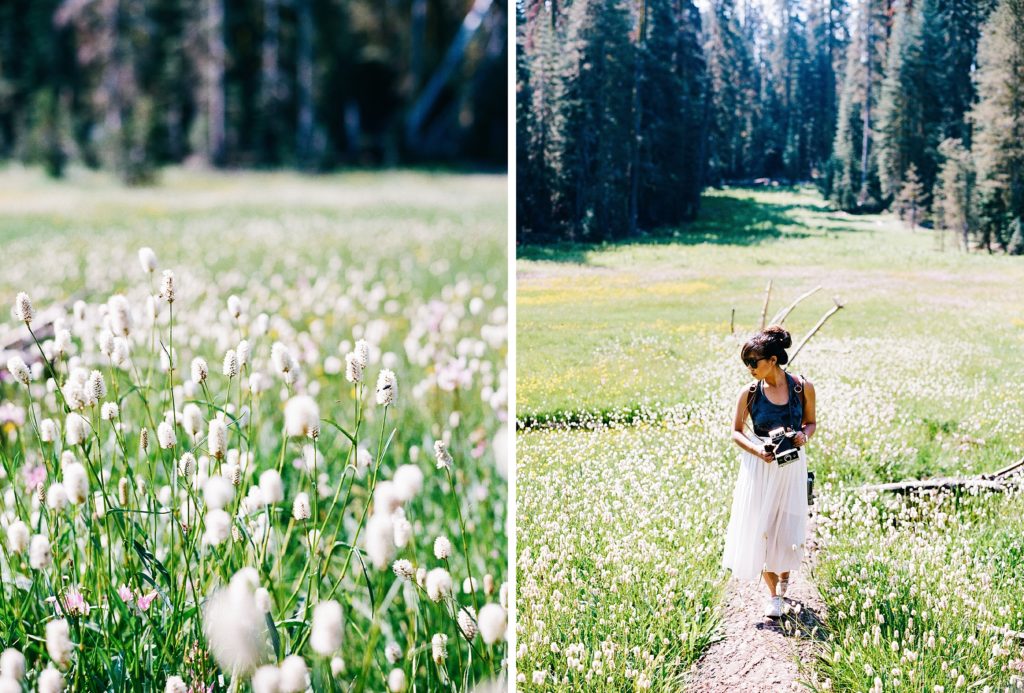
a fallen log in a meadow of flowers
TIPS FOR PLANNING A PHOTO SESSION SESSION IN YOSEMITE
Perhaps you’ve found this post because you are a photographer or you’re someone who is planning for a photo session in Yosemite yourself. We have some tips for you as well :] Note: we’re primarily portrait photographers, so most of our tips apply for portrait shoots, though a landscape photographer might find some of our tips useful as well!
Scout, Scout, Scout!
- Make sure you’ve scouted the location very well. There are many gorgeous angles and hidden spots within each location so it’s really important to spend some time scouting the location before your shoot. A good photographer/vendor has already visited the location multiple times and knows what to expect in terms of lighting for each location.
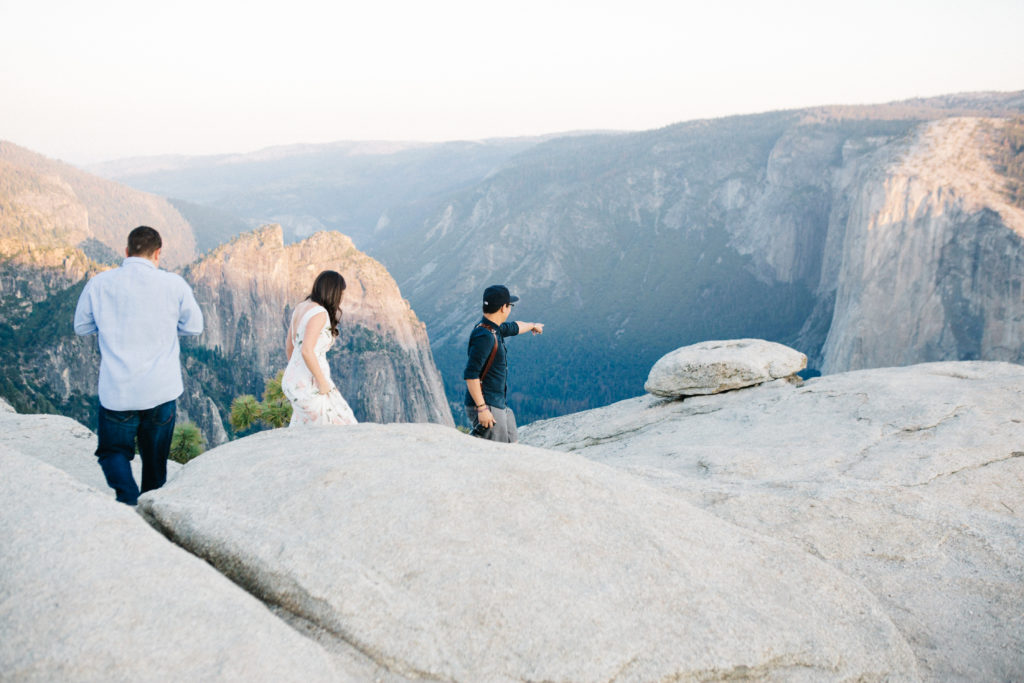
- We’ve discovered so many new locations just because we took the extra time to go out and scout
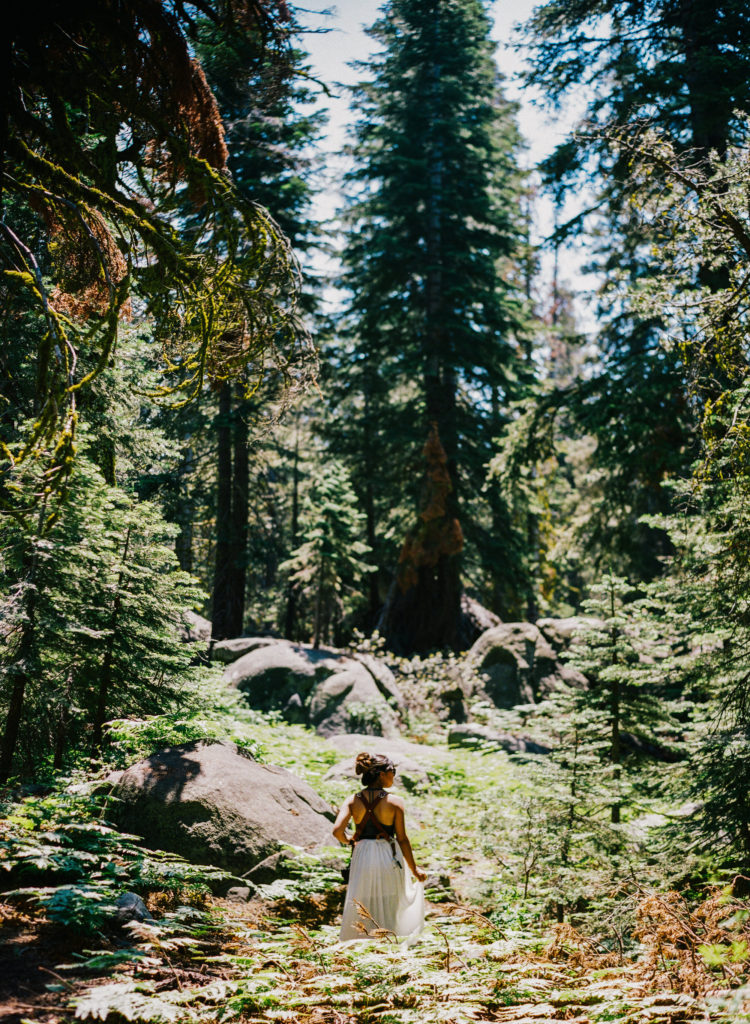
Isabell scouting out a trail near Sentinel Dome
Travel Light
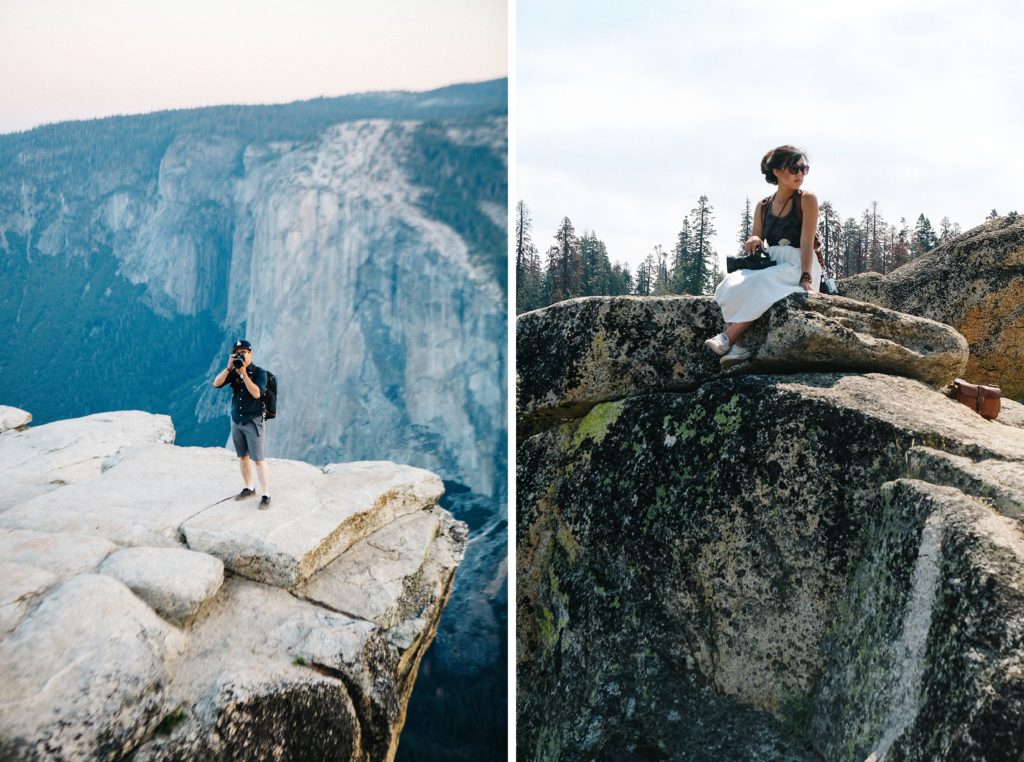
- This one is a little self-explanatory. Bring the essentials and leave the extra stuff behind! You won’t want to be hiking in hot weather with a bunch of gear weighing you down.
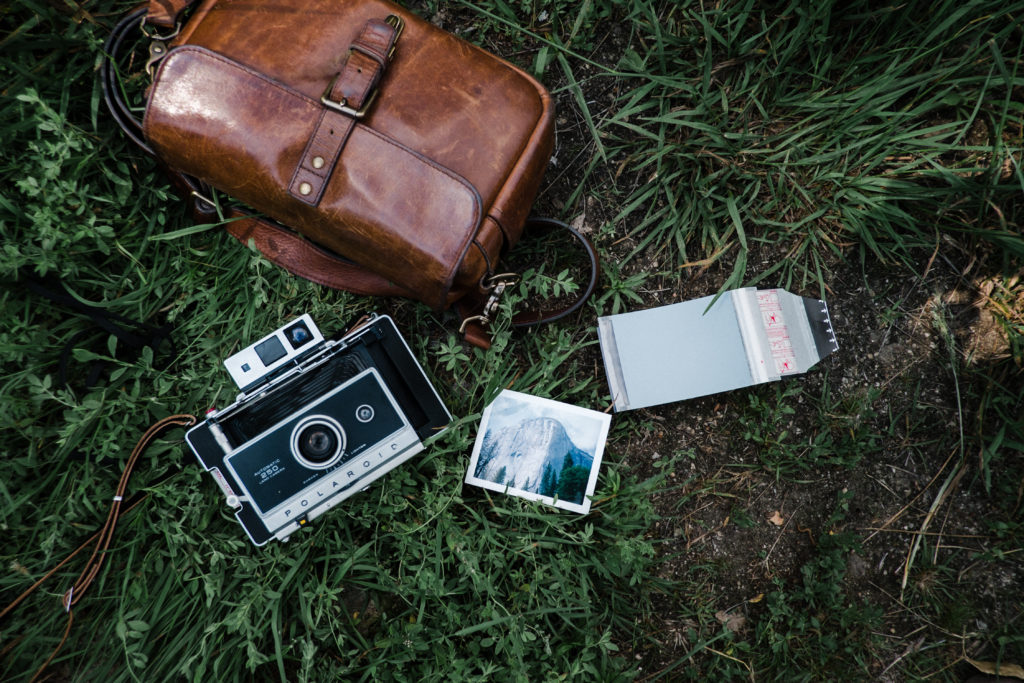
- Isabell usually travels with her cameras on her Holdfast Straps and Ona Bowery bag.
- Anthony carries the supplies in a simple backpack!
Get the Right Permits!
- Make sure you have the right permits for your shoots. Travel/Personal photography is permitted, but if you’re doing any commercial work, make sure you’ve got the correct permit.
- If you’re getting married or planning an elopement, there’s a $150 permit to apply for as well, at least 21 days before the event :]
- Make sure that you’re being respectful of the rules and regulations of the park. That means not crossing fenced off zones and restricted areas. If you’re in a no-drone zone… just don’t fly it. It can be disruptive to wildlife.
Don’t get caught up with the “Instagram Famous” Locations. (Hint, it’s all about creative eye + finding the best light)
- Just because a location is “Instagram famous“ doesn’t necessarily mean that it’ll be the perfect shoot location. If the lighting isn’t ideal or if there is a lot of wind you’ll still have a hard time getting a solid image. We spend a significant amount of time scouting locations to make sure that there are many different looks and angles we can work with during a shoot! You’ll be surprised what locations we’ve found just because the light was good!
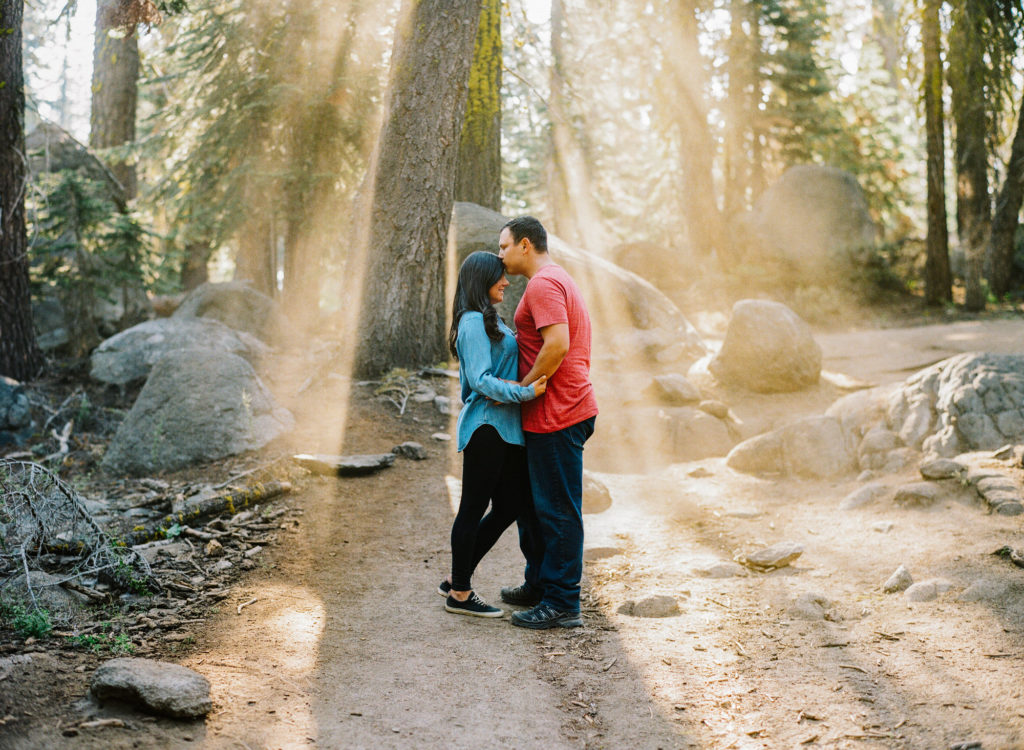
- Photographers, make it your own! Don’t try to copy another photographer’s image. Challenge yourself to create art that is unique to you and your experience, and we promise that you’ll appreciate your photographs 1000000% more!
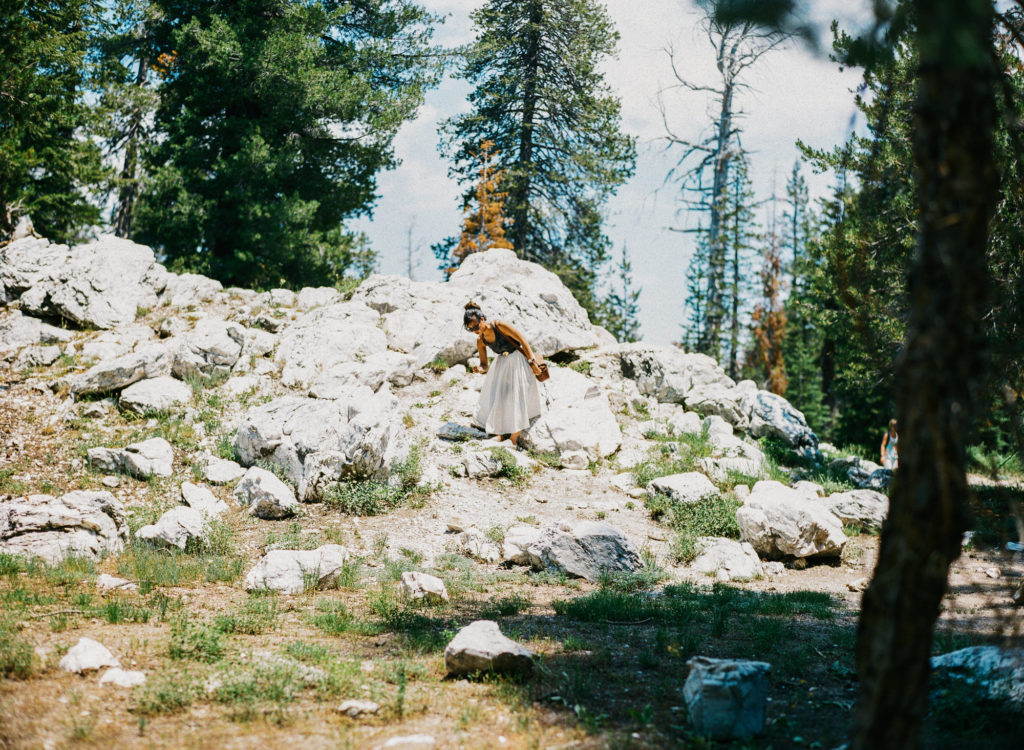
Lots of rad spots to discover at Yosemite!
Consult the Pros + Collaborate with Wonderful Vendors!
- If you’re looking to plan an elopement/session that is unique and personal, we highly suggest bringing the pros for help. Having a professional photographer and a planner/stylist with prior experience to collaborate with will make all the difference! They’ll know the best locations, the best times, restrictions…
- We love working with Annie Spring, a wonderful friend of ours and fabulous stylist who planned her own wedding in Yosemite!
Be ready to roll with it and be patient :]
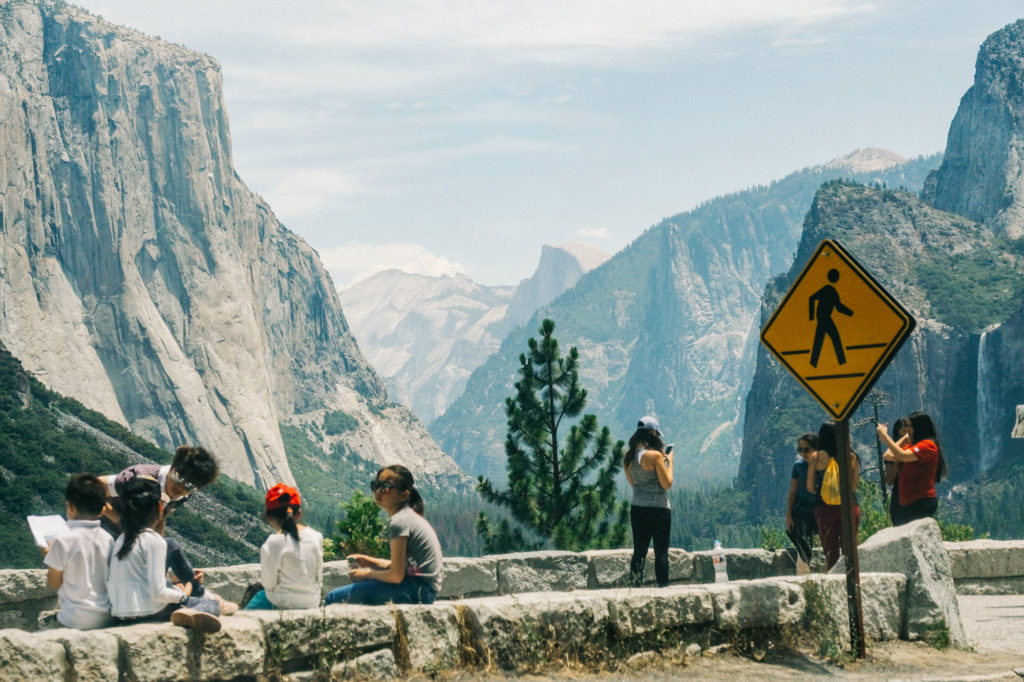
tourists and tourists at Tunnel View
- If you’re visiting during peak season, there will likely be a lot of tourists with you as well. Sometimes it can be unavoidable.
- Driving from location to location in Yosemite NP can take a full hour each time. It’ll probably take longer if you’re traveling from outside park.
- Traffic! Be ready to wait, be ready to parallel park, be ready to walk a little extra if you’re going during peak visiting season!
- You’ll be doing a good amount of hiking and walking from location to location. Make sure to bring clothing and footwear that you can wear and switch out. I don’t recommend hiking over cliffs and fissures in heels. Also, be ready to walk up to a location clothes you can move in, and changing on location.
- Be ready to change in the car. There are restrooms all over the park, but sometimes the car is a lot cleaner and closer than a walk to a restroom.
- Embrace the adventure!! 😀
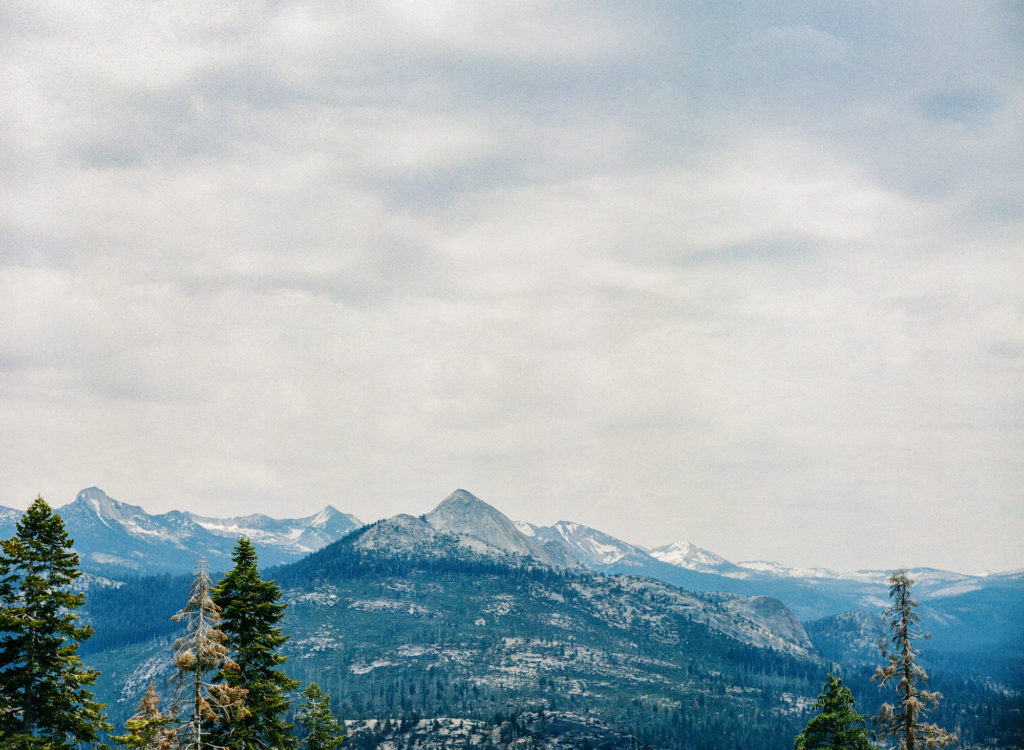
We are far from being experts but genuinely hope that the tips and tricks we’ve shared can get you started for a wonderful trip to Yosemite! We hope this guide has been valuable to you!! Have fun and share pictures of your adventure with us!! Do leave a comment below if you have any questions or anything to add to this list!
xoxo,
Isabell + Anthony
Hang out with Isabell on Instagram
Hang out with Anthony on Instagram
Psst! I see you’ve traveled this far down the website… which means it’s probably time you signed up for my updates so you don’t miss out on ANY of the fun! P.S. I think spam is lame. Rest assured I won’t be sending you any of that.